How to Build a Magnetic Knife Rack
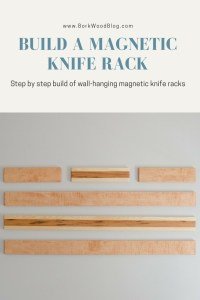
A Magnetic Knife Rack that hangs on the wall is a fun DIY project that does not cost a lot of money, looks great in your home or kitchen, and is relatively easy to build. My version of the Magnetic Knife Rack has plenty of holding power for even the heaviest of cleavers and knives.
Here is a video of the entire build process for the last batch of Magnetic Knife Racks that I built for a customer.
Step 1: Mill your lumber for the Magnetic Knife Rack
You can buy S4S (surfaced four sides) lumber from your big box or local hardwood supplier and be ahead of the game. Or you can use rough lumber if you have the tools (jointer and planer) to prepare this wood for use.
I use rough lumber and like to leave it at least 3/4″, but preferably 1″, thick to allow plenty of room to seat the 1/2″ thick magnets with space to spare.
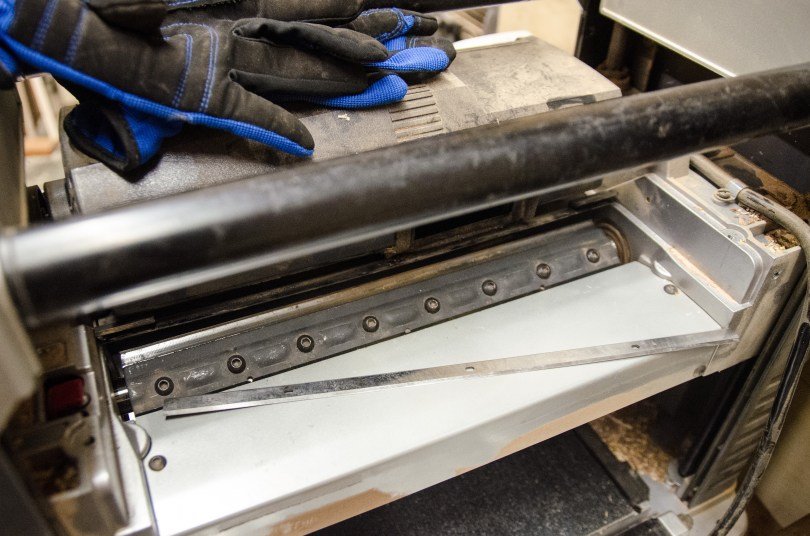
Be sure you have sharp planer blades if working with figured wood like this Curly Maple I was milling for these knife racks.
Step 2: Mark and Drill Your Magnet Holes for the Magnetic Knife Rack
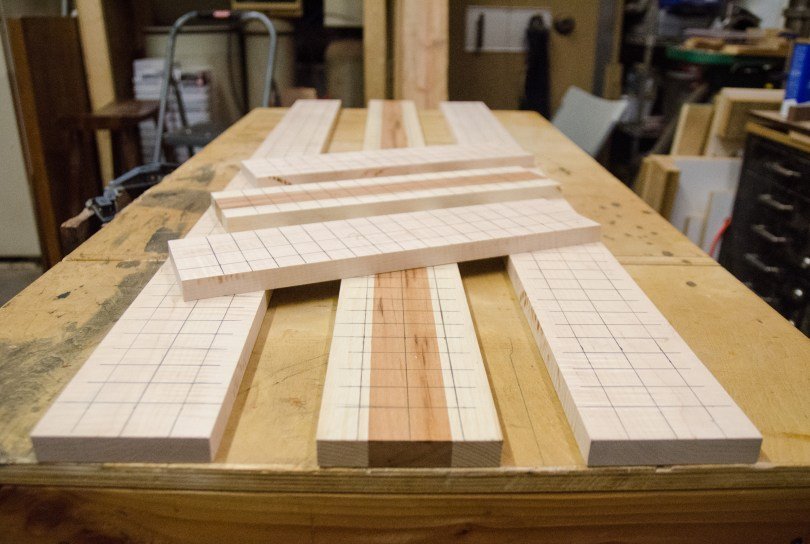
I used 1/2″ by 1/2″ cylinder magnets for my wall hanging magnetic knife racks, so I space my 1/2″ holes 1″ apart. For these racks, the customer chose the HD version which consists of three rows of magnets instead of the standard two rows of magnets on a typical magnetic knife rack.
Read also: How to Build a Cookbook Stand
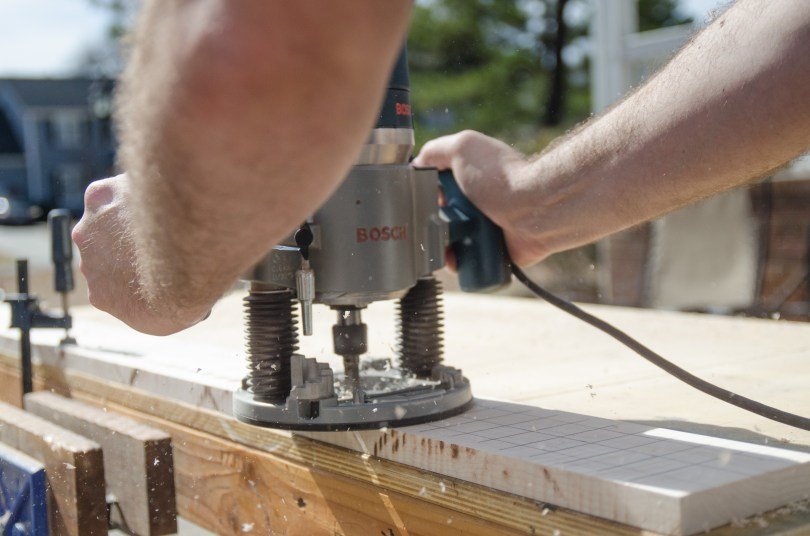
I then use a router with a 1/2″ up-spiral bit to bore these holes. You could also use a hand drill or drill press for these holes, I just find the router to be best for straight holes that can repeatedly get within 1/16″ or less from the face of the magnetic knife racks.
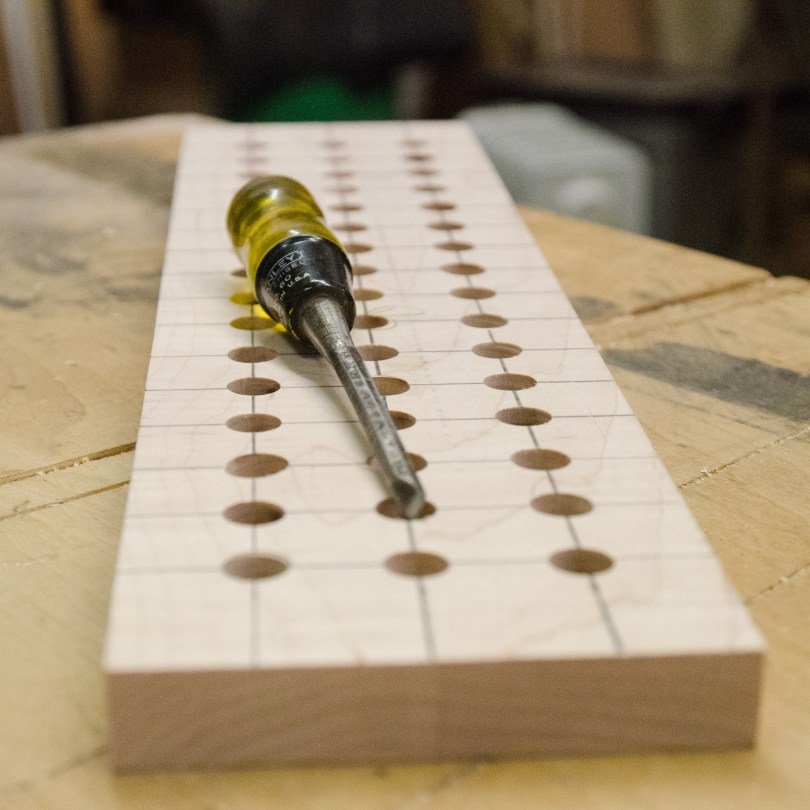
This bit does leave a little nib at the bottom of the holes that I am able to break away with this small chisel.
Step 3: Place and Glue the Magnets for the Magnetic Knife Rack
Some people use epoxy, I prefer E6000 craft glue for the wall hanging magnetic knife racks. It is easy to work with and dries over night. After dry I sand down the excess with my rotary sander.
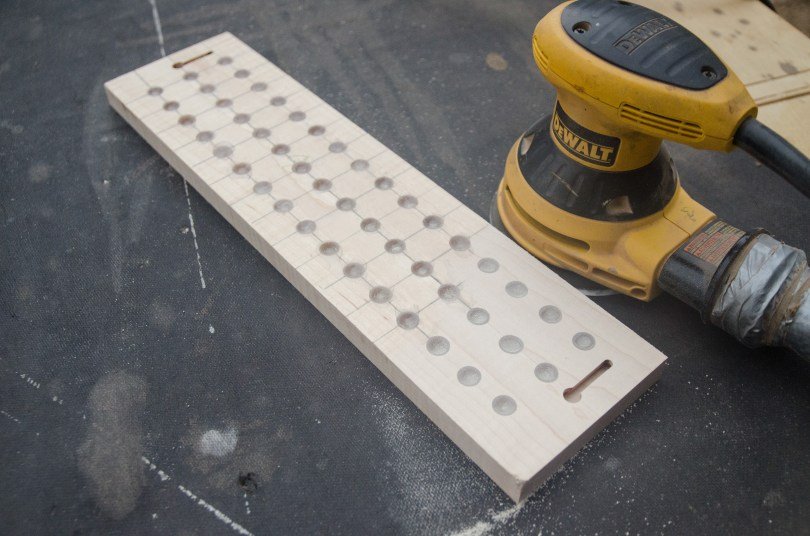
Either before or after routing the magnet holes, I use a small router and a keyhole bit to route key holes in the ends of the magnetic knife rack for hanging them on the wall. There are other options such as picture hanging hardware that you could use.
Step 4: Prepare for finishing the Magnetic Knife Rack
The last step before finishing is routing the edges of the face of the magnetic knife racks using either a round over or chamfer bit and then finish sanding the entire rack using progressive grits up to 220 grit.
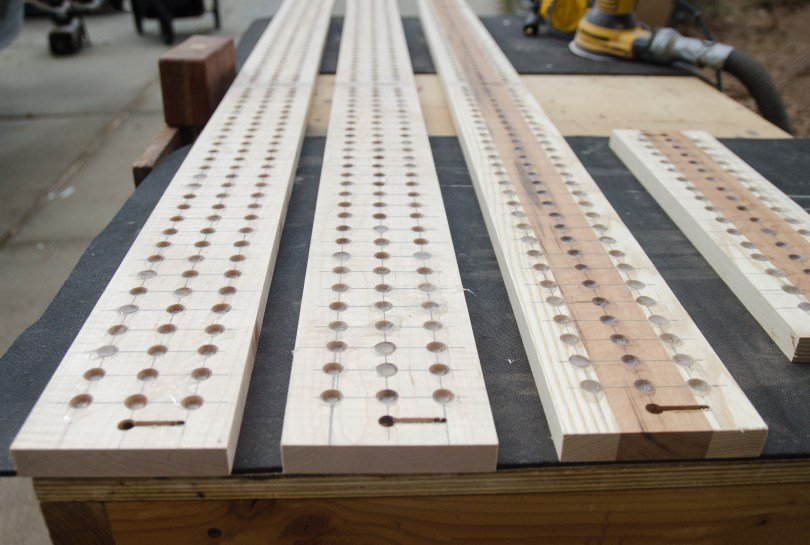
Step 5: Finishing the Magnetic Knife Rack
There are infinite options for finishing these wall hanging magnetic knife racks. My favorite option is using mineral oil and a mineral oil and beeswax mix just like I do on my cutting boards. This does require some maintenance and is not the best option when staining the wood like I did on these Curly Maple racks. For these I used 3 coats of Minwax Wipe On Satin Poly. I lightly sanded using 600 grit sandpaper between each coat. This provided a smooth finish that wasn’t too glossy.
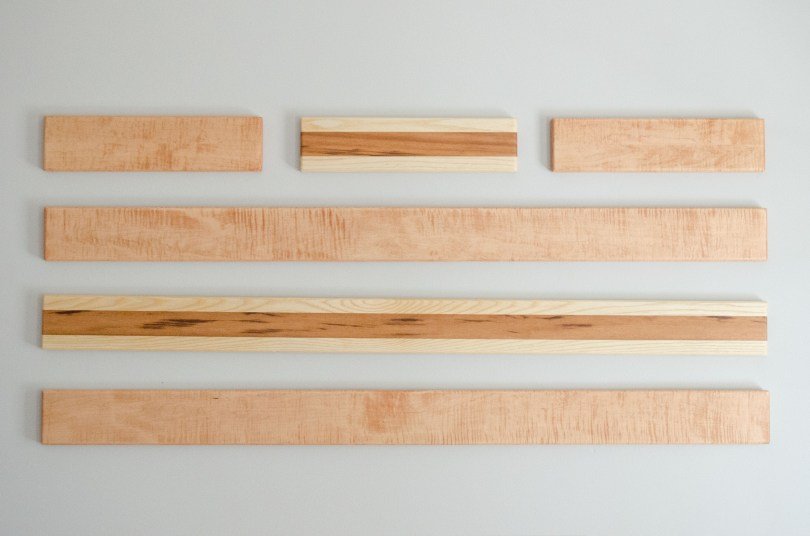
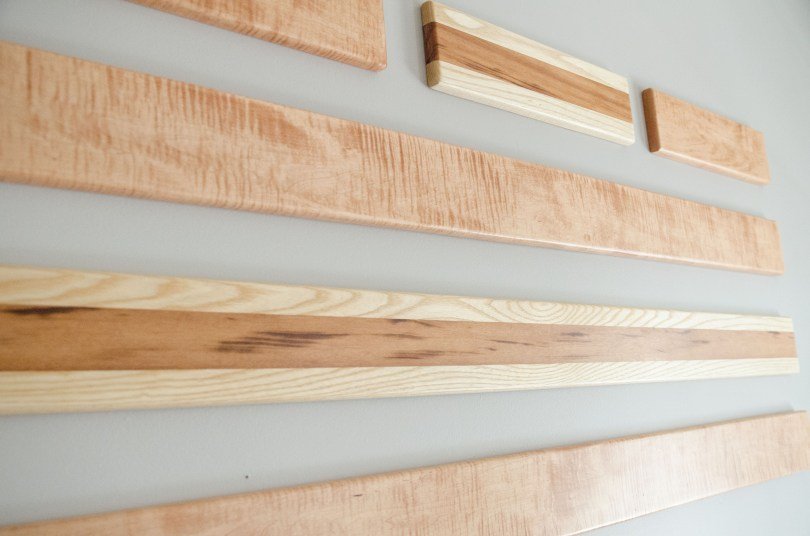
Conclusion for Building a Magnetic Knife Rack
Finally, I hope this has helped you pick up some tips and tricks or given you the confidence to go ahead and take a shot at building one of these wall hanging magnetic knife racks of your own!
View additional projects HERE
