How Long Does Wood Glue Take to Dry? A DIYer’s Guide to Waiting Without Wasting Time
Don’t Rush the Glue! Understanding Wood Glue Drying Times
Anyone who’s tackled a DIY project involving wood glue knows the waiting game all too well. You’ve meticulously applied the glue, clamped the joint firmly, and now you’re itching to move on to the next step. But how long does wood glue actually take to dry? And more importantly, when is it safe to put your project to the test?
Mastering the Art of Clean Wood Floors
The Glue Doesn’t Lie: Drying Times Explained
Wood glue usually dries to the touch within a timeframe of 30 minutes to an hour. But hold on to your hammers, DIYers! This doesn’t signify the green light to go wild. Curing, the process where the glue achieves its maximum bond strength, is a whole different story. For most wood glues, this crucial stage takes a full 24 hours.
Understanding What Affects Drying Times
Several factors can influence how long your wood glue takes to dry:
- Type of Glue: Not all wood glues are created equal. Polyurethane glues, for instance, take longer to dry compared to white or yellow PVA glues, the most common types.
- Temperature: Warmer temperatures act like a drying accelerant, while colder temperatures put the brakes on. Aim for a room temperature around 70°F (21°C) for optimal drying conditions.
- Humidity: High humidity levels can significantly extend drying times. If you’re working in a humid environment, consider using a fan to create better airflow around the glued joint.
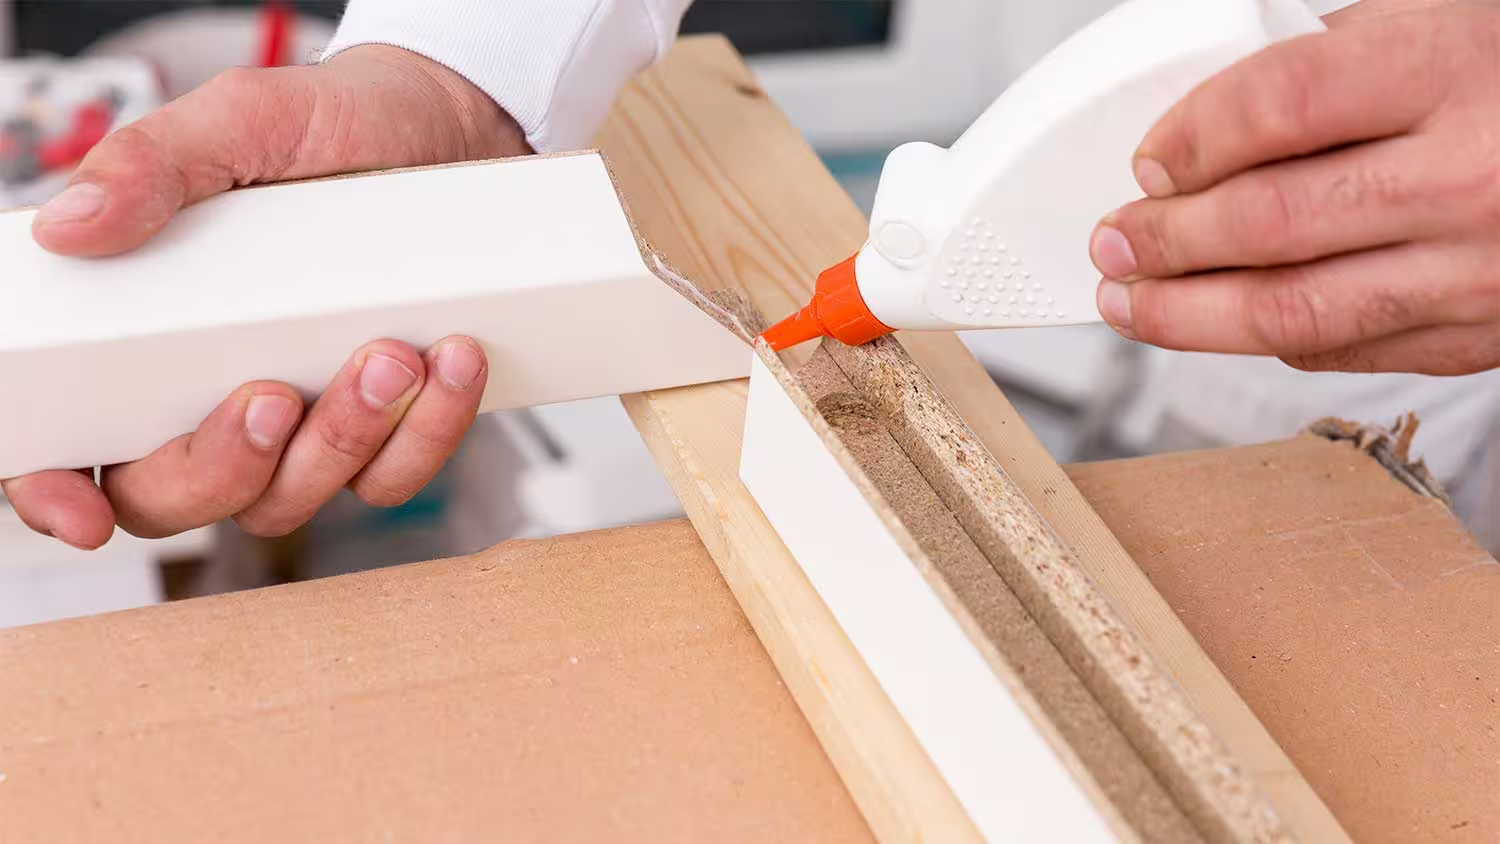
- Glue Application: A thin layer is key! A thick layer of glue might look like extra security, but it actually dries slower. Apply a thin, even coat of glue to both surfaces for a strong and fast-drying bond.
Read also: Banishing Water Stains
Tips for Optimal Drying and a Flawless Finish
Here are some handy tips to ensure your wood glue dries efficiently and your project achieves a long-lasting bond:
- Clamp Down for Success: Clamping applies pressure to the glued surfaces, creating a secure bond and promoting faster drying, especially for joints under stress.
- Wipe Away Excess Glue: Excess glue can act as a drying roadblock. Use a damp rag to remove any squeeze-out before it dries for a clean and professional finish.
- Plan Your Project with Drying in Mind: When planning your project, factor in drying and curing times. Avoid moving or using the glued piece until it’s fully cured to prevent weak spots or damage.
The Takeaway: Patience is a DIY Virtue
By understanding how long wood glue takes to dry and the factors that influence drying times, you can ensure a strong, long-lasting bond for all your DIY projects. Remember, waiting the full 24 hours for the glue to cure completely might feel like a test of patience, but it’s a small price to pay for a project that will stand the test of time. So grab a cup of coffee, put on some music, and let the glue work its magic!
