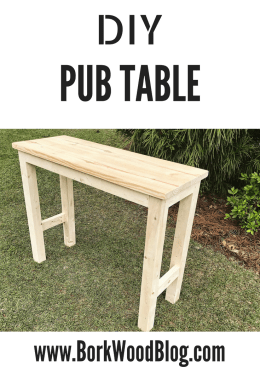
DIY Pub Table
Step 1: Purchase Materials
- 2×10⁻⁸
- 2×4-8 (six)
- Screws for Pocket Holes
- Clear finish for top
- White paint for base
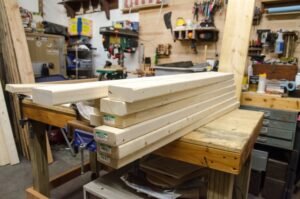
Step 2: Cut and Mill your Lumber
- Cut your 8 foot 2×10 in half so you have two 48″ pieces (TOP)
- Cut 4 of your 2×4’s into 8 pieces 36.5″ each (LEGS)
- Cut 1 2×4 into 2 pieces 40″ long (SIDE APRON)
- Cut 1 2×4 into 4 pieces 10″ long (SIDE APRON and BOTTOM CROSS SUPPORTS)
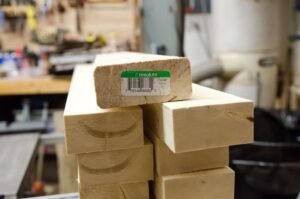
After all of your pieces are cut, you want to get rid of the rounded corners on all of the 2×4 pieces. I do this by cutting off 1/4″ from each side leaving the pieces 3″ wide.
You should also cut the rounded edge from one side of each of your 2×10 pieces. These will be glued up to make the solid wood top for the pub table.
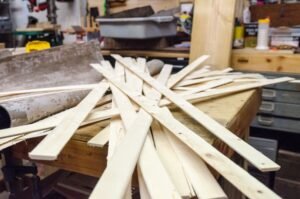
A great side benefit to squaring up all of these 2×4’s is the huge supply of paint-stirrers you can get from the scraps!
Step 3: Glue up the legs and top
Using a quality wood glue, glue together pairs of the 2×4 pieces that are 36.5″ long to make 3×3 pub table legs. You can clamp these all together (just don’t glue all of the legs to each other!).
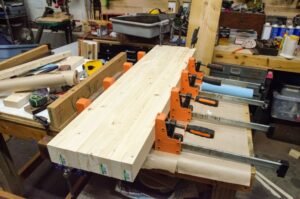
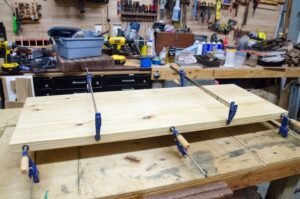
Next glue together your 2×10 pieces with the square edges being the middle where the glue joint is.
Step 4: Drill Pocket Holes and Assemble the Table
Using a Kreg Jig, drill two pocket holes and each joint and along the top of the side aprons for attaching the top. You are now ready to assemble the base. If all of your cuts were square and accurate, this should come together square and level. Use clamps to hold the boards together for tight joints with your pocket screws. I also recommend adding a little wood glue to each joint for added strength.
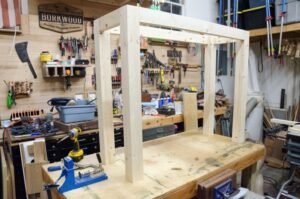
Next flip the top upside down with the base upside down on top of it. Measure all of your edges for equal overhangs and attach the top using pocket screws.
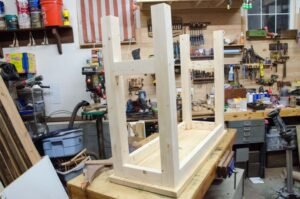
Step 5: Paint and Finish
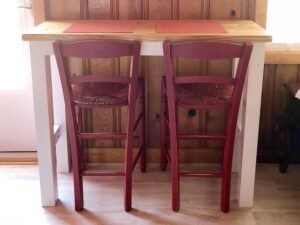
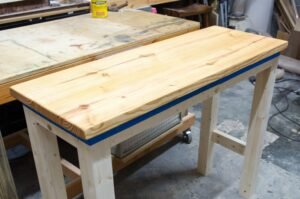
After a quick sanding just to break all of the edges and smooth everything out it was time to finish and paint the table. I would recommend finishing the top and base separate before attaching them, but I did not do that. The person I was building this for originally wanted it unfinished. They then decided a clear coat on the top was desired so I just taped off the base and applied three coats of my favorite clear coat.
Eventually they decided to go ahead and have me paint the base, so I did so with one coat of Sherwin-Williams Wood & Wall Primer and two coats of Benjamin Moore Advance. I have to so this was my first time using both products and I was pleased with the results. The Sherwin-Williams primer covered well and sanded very smooth. I will say the Benjamin Moore Advance took a little getting used to just because how easy it was to run, but once I figured it out it was a joy to work with. The Advance leveled great leaving no brush strokes and should provide a very durable finish for years to come.
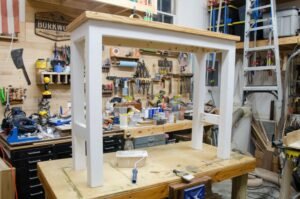
Overall this DIY Pub Table was a very quick project that produced a table for a specific space in this client’s home that serves a specific purpose and should last for many years.
If you enjoyed this tutorial, please share on Pinterest and other social media sites as well as subscribe to my YouTube Channel. You may also enjoy some of my other project tutorials and the list of Tools from my Shop. Thank you!
