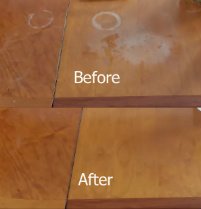
Conquer Your Restoration Project: How to Remove Paint from Wood
Want to restore a cherished piece of wooden furniture or revitalize your weathered porch swing? Removing old paint is often the first step. This guide delves into different methods for removing paint from wood, equipping you with the knowledge to tackle your project with confidence.
Choosing the Right Method
Before diving in, consider a few factors to select the most suitable method:
- Type of Paint: Knowing if it’s latex, oil-based, or lead paint (consult a professional for lead paint removal) will influence your approach.
- Wood Surface: Delicate surfaces require gentler methods like sanding or safe strippers, while sturdier surfaces can handle heat guns.
- Desired Outcome: Are you aiming for a completely bare wood finish, or do you want to preserve some of the character of the old paint?
Here’s a quick overview of popular methods:
- Chemical Strippers: Powerful solvents that break down paint, making it easy to scrape off. Effective but potentially hazardous, requiring proper ventilation and safety gear like gloves, goggles, and a respirator.
- Heat Guns: Apply concentrated heat to soften the paint, allowing for removal with a scraper. Efficient for multiple paint layers, but heat can scorch the wood if not used carefully.
- Sanding: Manual labor using sandpaper to remove paint layer by layer. Ideal for small areas, detailed work, or delicate surfaces. Consider using a random orbital sander for larger surfaces.
- Safe Strippers: Eco-friendly alternatives to chemical strippers, formulated with citrus or natural ingredients. May require longer application times or multiple treatments.
Read also: Mastering the Art of Clean Wood Floors
Detailed Instructions
Chemical Strippers
- Prepare the Workspace: Work in a well-ventilated area covered in drop cloths. Wear gloves, goggles, and a respirator.
- Apply the Stripper: Using a paintbrush, apply a generous amount of stripper to a small test area first. If the results are satisfactory, proceed with the entire wood surface. Follow the manufacturer’s instructions for application time.
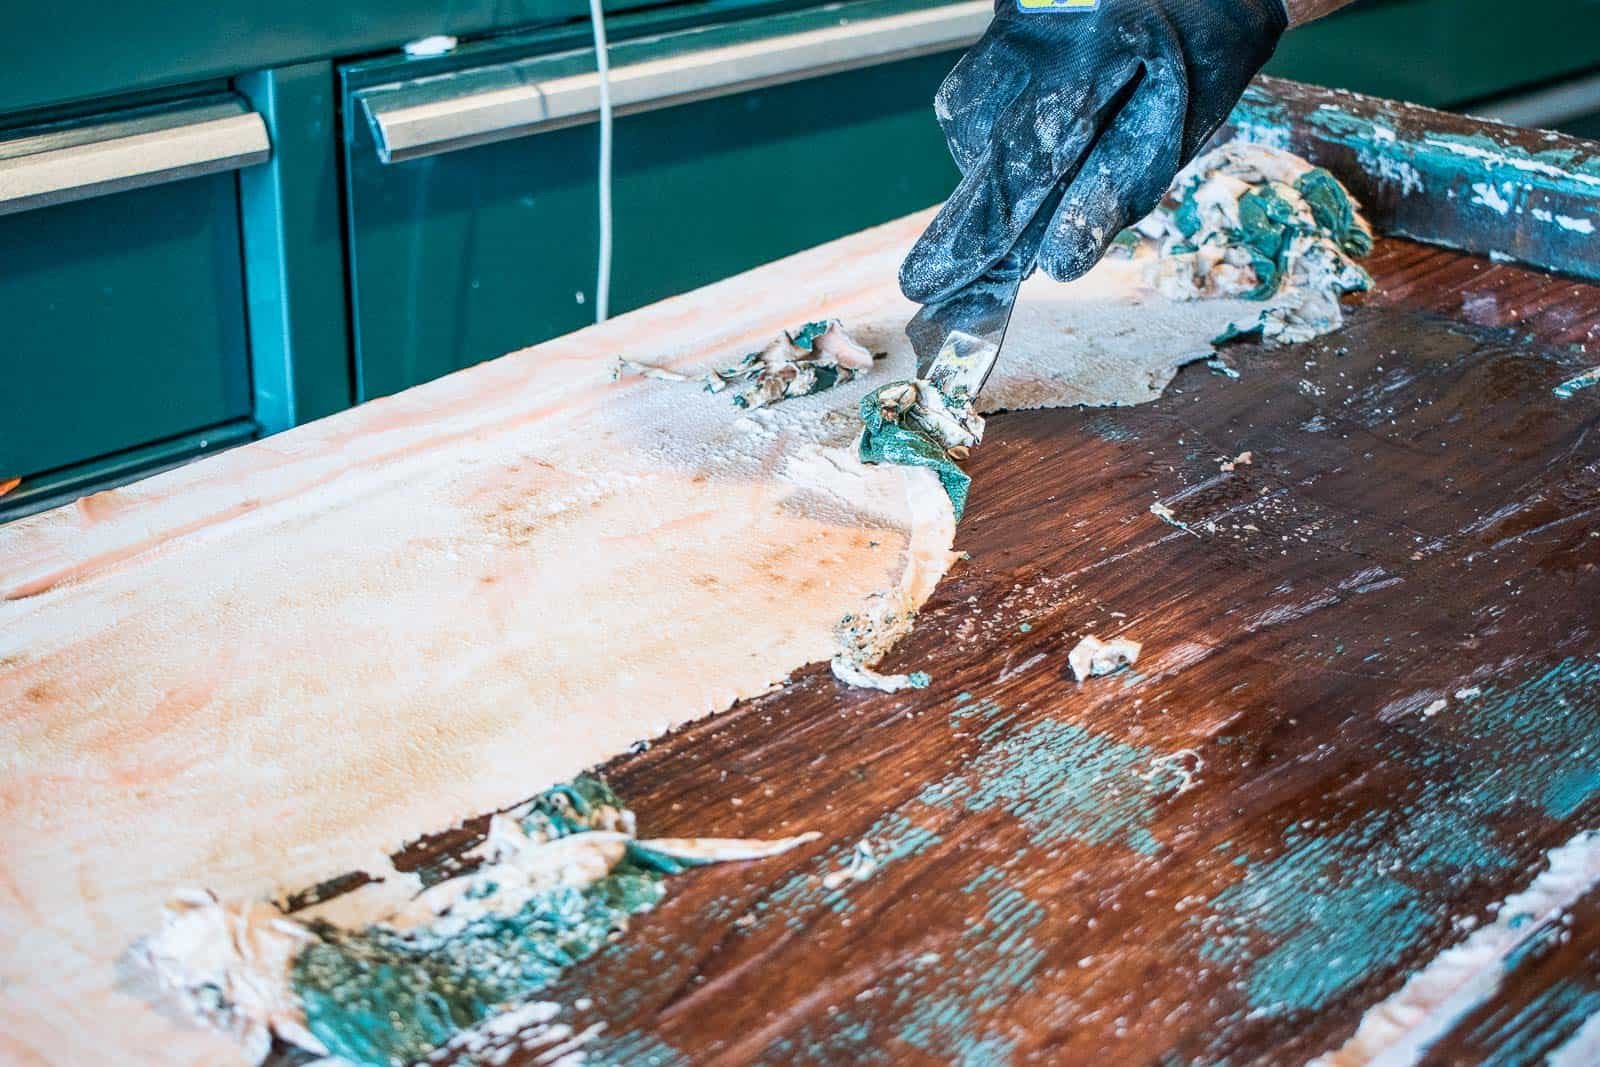
- Scrape Off Paint: The paint should soften and lift. Use a plastic or metal scraper to remove the paint carefully, working with the grain of the wood.
- Neutralize the Stripper: Use a rag dampened with mineral spirits to remove any stripper residue according to the product instructions.
- Dispose Properly: Chemical strippers are hazardous waste. Follow local guidelines for safe disposal.
Heat Guns
- Prepare the Workspace: Choose a well-ventilated area and protect your surroundings with heat-resistant materials. Wear gloves, safety glasses, and a respirator.
- Apply Heat: Hold the heat gun a few inches away from the surface and continuously move it to avoid scorching. The paint will begin to bubble and soften.
- Scrape Off Paint: Use a metal scraper to remove the softened paint, working with the grain of the wood. Be careful not to dig into the wood itself.
- Control the Heat: Reduce heat application as you remove paint to prevent scorching the wood.
Sanding
- Select Sandpaper Grit: Start with coarse-grit sandpaper (around 80 grit) for initial paint removal. Progress to finer grits (120-220 grit) to smooth the surface.
- Sanding Technique: Sand with a back-and-forth motion, applying even pressure. For larger surfaces, use a random orbital sander.
- Dust Control: Wear a dust mask and work in a well-ventilated area to avoid inhaling dust particles. Wipe down the surface with a damp cloth to remove sanding dust.
Safe Strippers
- Apply the Stripper: Following the manufacturer’s instructions, apply the safe stripper to the test area. These strippers often require longer application times than chemical strippers.
- Remove the Paint: Use a plastic scraper to remove the softened paint according to the product instructions. You may need to reapply the stripper for stubborn areas.
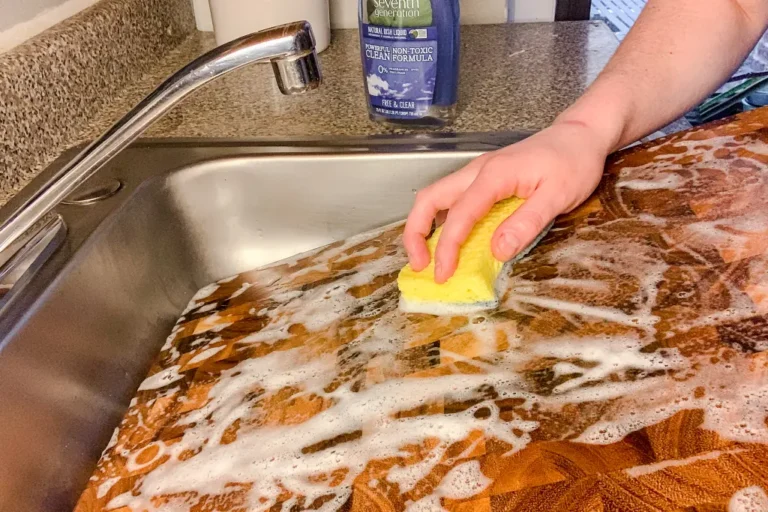
- Clean Up: Wipe down the surface with a damp cloth according to the product instructions.
Tips and Tricks
- Always test a small inconspicuous area first to ensure the chosen method works as expected and doesn’t damage the wood.
- When using chemical strippers or heat guns, work in small sections to maintain control.
- Patience is key. Some methods, like safe strippers, might require multiple applications.
- Be mindful of dust and fumes when sanding or using chemical